
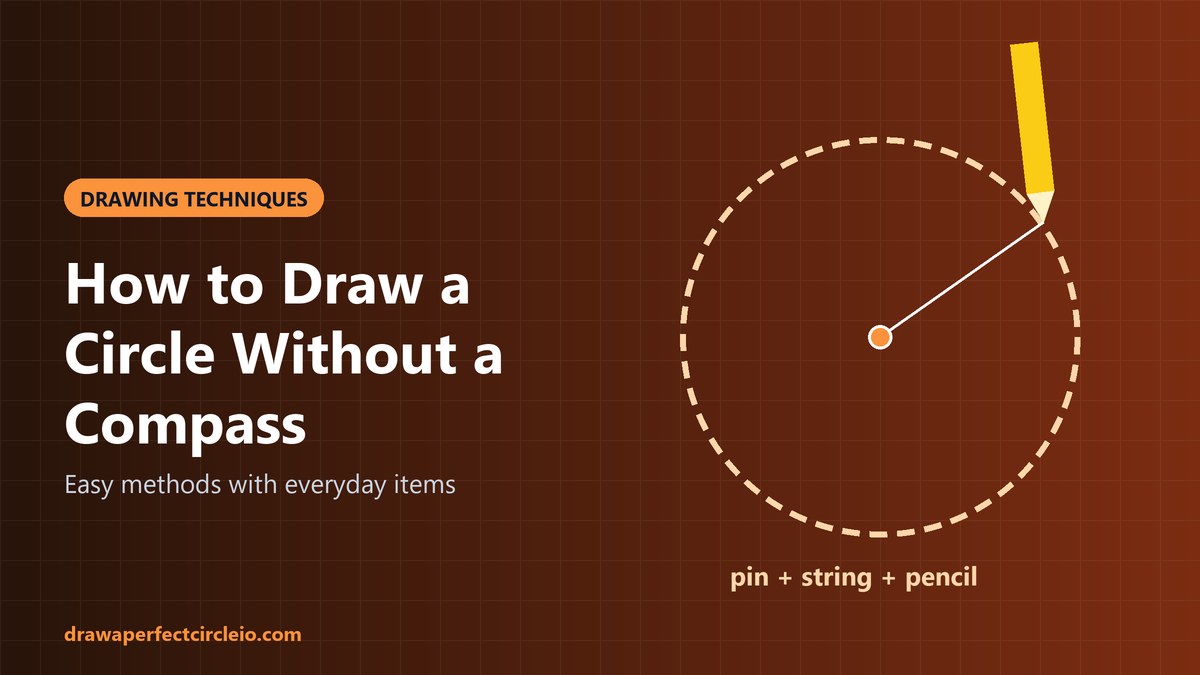
The easiest way to learn how to draw a circle without a compass is to tie a string to a pencil, pin the other end at the center, and swing the pencil around with the string pulled tight. The string length equals the radius. For small circles, trace a cup, lid, or coin. For freehand work, pivot your hand on your pinky.
Below, each method is ranked roughly from most to least accurate, with steps, a comparison table, and the mistakes that cause lopsided results.
How to draw a circle without a compass: the best methods ranked
Every point on a circle sits the same distance from the center. A compass holds that distance with a hinge; without one, you hold it with string, cardboard, a ruler, or your own hand. The more rigid that distance is, the more accurate your circle will be.
1. The DIY beam compass (cardboard strip with holes)
A strip of stiff cardboard or a paint stirrer makes a surprisingly precise compass because it does not stretch or sag. Woodworkers call a long version of this tool a beam compass or trammel.
- Cut a strip of cardboard about an inch wide and a little longer than your radius.
- Poke a small hole near one end with a pushpin. This is the pivot.
- Measure your radius from that hole with a ruler and poke a second hole just big enough for a pencil tip.
- Pin the pivot hole to the center of your paper, with a piece of cardboard underneath to protect your table.
- Put the pencil tip through the second hole and rotate the strip in a full turn.
Punch a row of holes at half-inch or one-centimeter intervals and you have an adjustable compass.
2. String or thread, pin, and pencil
This classic method scales from a coaster to a tabletop. The string length between the pin and the pencil tip is your radius, so measure that distance, not the whole string.
- Mark your center point.
- Tie one end of the string around the pencil, close to the tip.
- Measure your radius along the string and tie a small loop there, or wrap it around a pushpin.
- Push the pin into the center point (use a cardboard backing) or press the loop down firmly with a fingertip.
- Pull the string tight and hold the pencil straight up, not tilted.
- Draw around the center in one continuous motion, keeping tension constant.
Use low-stretch string such as thread, dental floss, or fishing line. Yarn stretches and gives you an egg shape.
3. Ruler or paper strip “dot method”
If you have a ruler but nothing to tie, plot the circle as dots, each exactly one radius from the center. A paper strip with two marks works just as well.
- Mark the center point.
- Place the ruler’s zero mark on the center and make a dot at your radius.
- Rotate the ruler a small amount around the center and make another dot at the same measurement.
- Repeat all the way around. Start with dots at 12, 3, 6, and 9 o’clock, then fill in between.
- Aim for at least 16 dots for a small circle and 24 or more for a large one.
- Connect the dots with smooth, light curves rather than straight lines.
4. Tracing round objects
Cups, jar lids, tape rolls, bowls, and coins all have clean circular edges. Hold the object firmly, keep the pencil tip against the edge, and go around once. To find the size you need, measure across the rim: that is the diameter, and half of it is the radius. Some references:
- Coins: A US quarter is about 0.96 inches (24.26 mm) across, and a penny is about 0.75 inches (19.05 mm).
- Tape rolls: The inner core of standard clear tape is often about 1 inch, while masking tape cores are usually about 3 inches. Measure yours, since brands vary.
Your pencil line sits slightly outside the object, so the traced circle comes out a little larger. Use a sharp pencil held straight.
5. The pinky pivot (two-finger) freehand method
Artists use this to sketch circles quickly. One finger becomes the pivot, and your fixed hand shape holds the radius.
- Hold the pencil normally, with your hand in a relaxed, locked position.
- Rest the tip of your pinky (or your pinky and ring finger together) on the paper at the center point.
- Touch the pencil tip down. The gap between your pinky and the pencil is your radius.
- Keep your hand and fingers rigid, and rotate the paper underneath with your other hand.
- Turn the paper a full rotation while the pencil stays in place.
Rotating the paper beats rotating your wrist, which tends to wobble. Adjust the radius by curling your fingers before you start, never during the turn.
6. Rotating-the-paper method
For circles larger than your hand span, keep your drawing arm fixed and let the paper move.
- Pin the paper’s center to a soft surface with a pushpin or thumbtack so it can spin.
- Rest your forearm on the table and lightly touch the pencil to the paper at your radius.
- Lock your elbow and wrist in place.
- Slowly spin the paper with your other hand, keeping the pencil still.
7. The square-box method
For a freehand guide, start with a square. A circle fits inside a square, touching the middle of each side.
- Lightly draw a square whose side length equals the diameter you want.
- Mark the midpoint of each side. These four points are where your circle touches the square.
- Draw both diagonals from corner to corner. Their crossing is the center.
- On each diagonal, mark a point about 71% of the way from the center to the corner. That is where the circle crosses each diagonal, since 1/√2 is about 0.71.
- Sketch smooth arcs through all eight points.
- Erase the square and guide lines.
Eight points give you a much rounder result than four. For a deeper dive into freehand practice, see our guide on how to draw a perfect circle freehand and with tools.
Drawing large circles on the ground or a wall
For garden beds, fire pits, or murals, scale up the string method. The geometry is identical.
On the ground: rope and stake
- Drive a stake, tent peg, or long nail into the center point.
- Tie a non-stretch rope or mason’s line to the stake with a loop that can spin freely.
- Measure your radius along the rope with a tape measure and mark it.
- At the mark, hold spray marking paint, chalk, flour, or a sharp stick.
- Walk around the stake with the rope pulled taut, marking as you go.
Keep the rope at the same height all the way around, or the circle flattens where you lift it.
On a wall: string and chalk
Tack one end of a string at the center, tie a pencil or chalk at the radius, and sweep. On a vertical surface, a thin strip of wood with a nail at one end and a pencil hole at the other is steadier than string.
How to find the center of a traced circle
Traced circles do not come with a marked center. If you need one, use perpendicular bisectors.
- Draw a straight line connecting any two points on the circle. This line is called a chord.
- Find the midpoint of that chord with a ruler.
- Draw a line through that midpoint at a right angle (90 degrees) to the chord. Use the corner of a sheet of paper or a book to get the right angle.
- Draw a second chord somewhere else on the circle, not parallel to the first.
- Repeat steps 2 and 3 for the second chord.
- The point where the two perpendicular lines cross is the center.
The perpendicular bisector of any chord passes through the center, so two of them pin down the exact spot. Long, well-separated chords give the best result.
Digital alternatives
On a screen, most programs have an ellipse tool; holding Shift while you drag usually locks it to a true circle.
- Documents: Word and Google Docs both offer shape tools. Here is a walkthrough on how to draw a circle in Google Docs.
- Geometry software: GeoGebra lets you draw circles by center and radius or through three points, which is useful for homework and constructions.
- Design apps: Illustrator, Figma, and Inkscape have ellipse tools, and Procreate’s QuickShape snaps a hand-drawn loop into a circle.
- Print and trace: Draw the exact size digitally, print at 100% scale, and trace it.
Comparison table: which method should you use?
Use this table to pick the best way to draw a circle without a compass for your project.
| Method | Accuracy | Best for | Tools needed |
|---|---|---|---|
| Cardboard beam compass | Very high | Repeatable sizes, crafts, woodworking | Cardboard strip, pushpin, pencil, ruler |
| String, pin, and pencil | High | Medium to large circles on paper or board | Thin string, pin, pencil |
| Ruler dot method | High (with many dots) | Any size when you only have a ruler | Ruler or paper strip, pencil |
| Tracing round objects | High | Small circles, quick jobs | Cup, lid, coin, or tape roll |
| Rope and stake | Medium to high | Garden beds, fields, large layouts | Stake, rope, tape measure, chalk or paint |
| Rotating the paper | Medium | Medium circles while sketching | Pushpin, pencil, soft surface |
| Pinky pivot freehand | Medium | Quick sketches, drawing practice | Pencil only |
| Square-box method | Low to medium | Freehand drawing guides | Pencil, ruler (optional) |
| Digital shape tools | Exact | Documents, diagrams, printable templates | Computer or tablet |
Common mistakes when you draw a circle without a compass
- Measuring the whole string instead of the radius. Only the distance from pivot to pencil tip counts. Measure after you tie the knots.
- Using stretchy string. Yarn and elastic change length as you pull, which distorts the shape. Choose thread, floss, or fishing line.
- Tilting the pencil. A leaning pencil changes the effective radius as you go around. Keep it vertical.
- Letting the pivot drift. If the center slides, the circle will not close neatly. Use a pin instead of a fingertip when possible.
- Uneven tension. Slack string produces a lopsided curve. Pull with steady, gentle pressure.
- Too few dots. Four or eight points leave too much guesswork. Add more.
Once full circles are reliable, try partial shapes. Our guide on how to draw 18 percent of a circle shows how to measure and mark a precise sector.
Frequently asked questions
What is the easiest way to draw a circle without a compass?
Tracing a round object such as a cup, lid, or roll of tape is the easiest option for small circles. For a specific size, tie a string to a pencil, hold the other end at the center, and sweep around with the string pulled taut. The string length from center to pencil tip sets the radius, so measure it before you start.
How do I draw a circle of an exact size without a compass?
Use a cardboard strip with two holes punched exactly one radius apart, or use the ruler dot method. For the strip, pin one hole at the center and rotate a pencil through the other. For the dot method, mark many points at the radius distance from the center, then connect them with smooth curves.
How can I draw a perfect circle freehand?
Use the pinky pivot method. Rest your pinky on the paper as a pivot, lock your hand so the pencil stays a fixed distance away, and rotate the paper beneath your hand instead of moving your wrist. Sketching lightly inside a square first also helps. Practice with light, repeated strokes before committing to a dark line.
How do I find the center of a circle I traced?
Draw two chords, which are straight lines connecting two points on the circle. Find the midpoint of each, then draw a line through each midpoint at a right angle to its chord. These perpendicular bisectors always pass through the center, so the point where the two lines cross is the exact center of your circle.
How do I draw a large circle on the ground?
Drive a stake into the center point and tie a non-stretch rope to it. Measure your radius along the rope and hold chalk, marking paint, or a stick at that point. Walk all the way around while keeping the rope taut and at the same height. This works well for garden beds, fire pits, and playing fields.
What can I use instead of a compass for math homework?
A cardboard strip with a pushpin pivot and a pencil hole works well and keeps the radius fixed. A string tied to a pencil also works for larger circles. If your teacher allows digital tools, geometry apps like GeoGebra can draw exact circles by center and radius, which is handy for checking constructions.
For more advanced constructions in geometry software, see our tutorial on how to draw a director circle in GeoGebra.
Conclusion
Now you know how to draw a circle without a compass using almost anything within reach. For the best accuracy, build a cardboard beam compass or use string and a pin. For speed, trace a round object. For sketching, pivot on your pinky or rotate the paper. Whichever method you choose, keep the radius fixed, the pivot steady, and the pencil upright, and your circles will come out clean and round.