
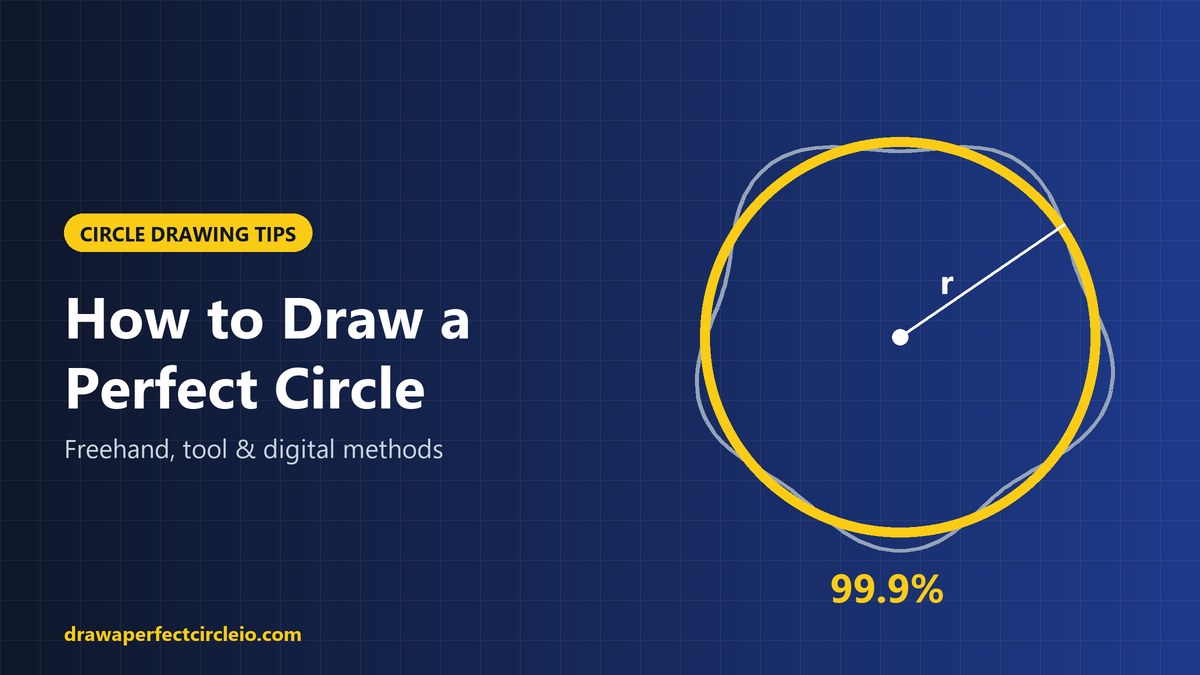
Here is how to draw a perfect circle freehand: lock a pivot point (your wrist for small circles, your elbow or shoulder for large ones), trace the circle in the air a few times, then draw it in one quick, confident stroke. For true precision, use a compass, a string and pin, or a shape tool held with Shift.
Whether you sketch, teach geometry, or want to win a circle-drawing challenge, round circles come down to mechanics, not talent. This guide covers freehand, tool, and digital methods, plus drills and common mistakes.
Why Circles Are So Hard to Draw by Hand
A circle is the set of all points at the same distance (the radius) from a center point. That sounds simple, but your hand does not naturally move in a constant-radius path. Fingers bend in short arcs, the wrist rotates in another, and the elbow in another.
When you draw a circle using only your fingers, you are stitching together several small arcs with different centers. Each joint handoff creates a flat spot or a bump. The fix is to let one joint act as a fixed pivot, so the pen travels around a single center, just like a compass.
How to Draw a Perfect Circle Freehand
Freehand circles are never mathematically exact, but good technique gets you very close with any pencil, pen, marker, or stylus.
Choose the Right Pivot for the Size
Match the joint to the circle. Small joints draw small circles well, and large joints draw large circles well. Trying to draw a big circle from the wrist forces you to shift your hand mid-stroke, which breaks the shape.
- Fingers: very small circles, roughly the size of a coin or smaller.
- Wrist: small to medium circles on a sketchbook page.
- Elbow: medium to large circles, such as a dinner-plate size.
- Shoulder (whole arm): large circles on posters, whiteboards, or canvases.
The Pivot-Point Method
This technique turns part of your hand into a compass. It works best for small and medium circles.
- Hold your pencil normally and rest the tip of your pinky finger, or the knuckle below it, on the paper where you want the center.
- Keep your pinky planted and your hand rigid, like a single locked unit.
- Place the pencil tip on the paper at the desired radius.
- Rotate the paper with your other hand while keeping your drawing hand completely still.
- Continue until the line meets its starting point.
Because the distance between your pinky and the pencil tip stays fixed, the result is close to a compass-drawn circle. To change the size, adjust how far you extend the pencil from your pivot finger.
The Ghosting Method (Trace in the Air First)
Ghosting is the standard technique taught in drawing classes for confident lines. You rehearse the motion before committing ink to the page.
- Lightly mark the center and four points on the edge: top, bottom, left, and right, all at the same distance from the center.
- Hover the pen just above the paper and move it around the four points in a circular path.
- Repeat the air motion two or three times until it feels smooth and even.
- Without stopping the motion, lower the pen onto the paper and draw the circle in one pass.
- Lift the pen as the line meets its start, continuing the motion so you avoid a blob or hook at the join.
Ghosting works because your arm builds a consistent rhythm before contact, so the paper records a motion you have already practiced.
Rotate the Paper
Your hand moves more comfortably in some directions than others. If you are wondering how to draw a perfect circle when one side always looks off, this is often the reason.
Draw only the comfortable arc, about a quarter or third of the circle, then turn the paper and draw the next section. Keep the overlaps light so you can blend them. This is slower than one stroke, but it gives excellent control for inked final drawings.
Draw With Your Whole Arm
For anything larger than your palm, lock your wrist and move from the elbow or shoulder. Stand up if you are drawing on a large surface, since sitting limits your arm’s range.
Whiteboards and chalkboards help here, because the vertical surface lets your shoulder act as a natural pivot.
Speed and Confidence
Slow strokes wobble. When you draw slowly, your eyes and hand constantly make tiny corrections, and each one shows up as a jitter in the line. A brisk, steady speed smooths out those micro-adjustments.
Do not go so fast that you lose control of the shape, though. Aim for a brisk but controlled pace.
How to Fix Wobbles
Draw your first pass lightly, then evaluate it. Look for flat spots, bulges, and areas where the line drifts inward or outward.
- Rotate the paper and view the circle upside down or in a mirror; fresh angles reveal distortions.
- Draw a second, more confident pass over the light sketch, correcting toward the true curve.
- Erase the weaker line once the corrected one is in place.
- If one side is consistently flat, that is usually a joint handoff. Switch to a larger pivot.
How to Draw a Circle With Tools
When you need geometric accuracy, use a tool. Each option below gives a constant radius by design.
Compass
- Set the distance between the needle and pencil lead to your radius, using a ruler.
- Place the needle firmly at the center point.
- Hold the compass by the handle at the top, not by the legs, so the radius does not change.
- Tilt the compass slightly in the direction of rotation and turn it in one smooth motion.
Keep the pencil lead sharp and level with the needle tip so the compass stands upright. A loose hinge can let the legs drift, so tighten it if your circles fail to close.
String and Pin
This is the go-to method for large circles on wood, fabric, or the ground. Tie a string to a pin or nail at the center, tie a pencil to the other end at the desired radius, keep the string taut, and sweep the pencil around. If you do not own a compass, our guide on drawing a circle without a compass covers more improvised options.
Round Objects
Cups, jar lids, rolls of tape, and coins all make quick tracing templates. Hold the object firmly so it does not slide, and keep the pencil angle consistent as you trace around it. A tilted pencil produces a circle slightly larger than the object.
Circle Templates
A circle template is a plastic sheet with holes in a range of sizes. Drafters, illustrators, and engineers use them for clean, repeatable circles. Align the template’s crosshair marks with your center lines, then trace the inside of the hole with a fine pencil or technical pen.
How to Draw a Perfect Circle Digitally
On a screen, a mathematically perfect circle is one click away. Most apps use a modifier key to constrain proportions.
- Adobe Photoshop and Illustrator: select the Ellipse tool and hold Shift while dragging. Add Alt (Windows) or Option (Mac) to draw from the center outward.
- Procreate: draw a rough circle and hold your pencil on the screen at the end of the stroke. QuickShape snaps it into an ellipse; keep holding and tap the screen with another finger to make it a perfect circle.
- Photoshop brush smoothing: for freehand digital strokes, raise the Smoothing value in the brush options bar to steady your line.
- Procreate StreamLine: increase StreamLine in the brush settings to reduce hand jitter on hand-drawn curves.
- Documents and geometry apps: office and math tools also have shape features. See our walkthroughs on how to draw a circle in Google Docs and drawing a director circle in GeoGebra.
Comparing Circle-Drawing Methods
| Method | Accuracy | Best size range | Best for |
|---|---|---|---|
| Freehand (ghosting) | Moderate, improves with practice | Small to large | Sketching, quick drawings |
| Pivot finger | Good | Small to medium | Neat circles with no tools |
| Compass | Very high | Small to medium | Geometry, technical drawing |
| String and pin | High | Large | Woodworking, murals, gardens |
| Round object | High (fixed sizes) | Whatever you have on hand | Crafts, quick layouts |
| Circle template | Very high (fixed sizes) | Small | Drafting, inking |
| Digital shape tool | Exact | Any | Design, diagrams, documents |
Practice Drills for Rounder Circles
The fastest way to learn how to draw a perfect circle by hand is short, regular practice. Try these drills for five to ten minutes at a time.
- Page of circles: fill a sheet with circles of one size, using the ghosting method for each.
- Concentric rings: start with a small circle and draw progressively larger ones around it, keeping the gaps even.
- Size ladder: draw circles from coin size to plate size, switching pivots as you go.
- Box-in method: draw a square, mark the midpoint of each side, and draw a circle that touches all four midpoints.
- Overtracing: draw the same circle five times on top of itself, aiming for the lines to stack into one.
Once you are comfortable with full circles, try partial shapes too. Our tutorial on drawing 18% of a circle shows how to measure and draw a 64.8° sector.
How Circle Accuracy Is Judged
Online circle-drawing games and geometry teachers usually judge roundness the same way: by how much your line strays from a constant radius.
The typical approach is to sample many points along your line and measure each point’s distance from the center. Those distances are averaged to find the mean radius. Then the score reflects how much the individual distances deviate from that average. Smaller deviation means a rounder circle.
This is why a circle can look fine yet score poorly: one flat spot or bulge pulls several points away from the average radius, and a gap or overlap at the join adds more error.
Common Mistakes When Drawing Circles
- Using the wrong joint: drawing big circles from the fingers or wrist causes flat sides and egg shapes.
- Drawing too slowly: hesitation shows up as a shaky, wavy line.
- Gripping too tightly: a tense grip restricts movement. Hold the pen firmly but loosely.
- Watching the pen tip: look slightly ahead of the line, toward where it is going, rather than at the tip.
- Skipping guide marks: a center dot and four radius marks give your eye targets to aim for.
- Letting the compass legs move: holding a compass by its legs changes the radius mid-turn.
- Pressing hard on the first pass: dark lines are hard to correct. Sketch lightly first.
Frequently Asked Questions
Can anyone learn to draw a perfect circle freehand?
Yes. Freehand circle drawing is a motor skill, not an inborn gift. With the right pivot, the ghosting method, and a few minutes of regular practice, most people see noticeably rounder circles within days. A freehand circle will never be mathematically exact, but it can get close enough that the eye cannot easily spot the difference.
What is the easiest way to draw a perfect circle?
The easiest way is to trace a round object such as a cup, lid, or roll of tape. Hold the object firmly and keep your pencil at a steady angle. If you need a specific size, a compass or circle template is the next simplest option, and on a computer, the ellipse tool with Shift held creates an exact circle.
Should I draw a circle clockwise or counterclockwise?
Either direction works. Choose the one that feels smoother for your hand, which often depends on whether you are right- or left-handed. Test both by drawing a few circles in each direction and comparing them. Once you find your stronger direction, use it for final lines and practice the other to stay versatile.
Why do my circles come out as ovals or egg shapes?
Ovals usually come from using a joint that is too small for the circle, so your hand shifts mid-stroke. Egg shapes often appear when one side of the stroke is faster or more comfortable than the other. Switch to a larger pivot, ghost the motion first, and keep your speed even all the way around.
How do I draw a perfect circle without a compass?
Use the pivot-finger method and rotate the paper, tie a pencil to a string anchored with a pin, or trace a round household object. You can also fold a strip of paper, poke a hole for the pencil, and pin the other end at the center. Each method keeps the radius constant, which is the key to roundness.
How is a perfect circle scored in online circle games?
Most circle games sample points along your stroke, calculate the average distance from the center, and measure how far each point deviates from that average radius. Less deviation produces a higher score. Gaps or overlaps where the line starts and ends, and flat spots anywhere along the curve, lower your result.
Conclusion
Learning how to draw a perfect circle is about choosing the right pivot, rehearsing the motion, and drawing with steady confidence. Use freehand techniques for sketching, a compass or template for precision, and shape tools for digital work. Practice the drills above for a few minutes a day, and your circles will get rounder fast.